Managing categories and category groups
Index
1 How to open the category manager
2 Creating document categories
4 Assigning categories to groups
5 De-assigning categories from groups
9 Importing and exporting categories
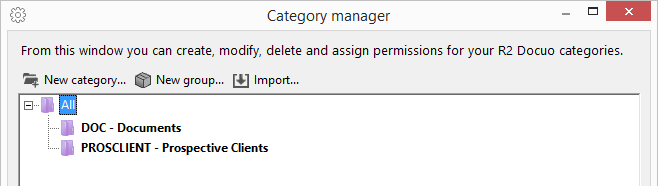
How to open the category manager
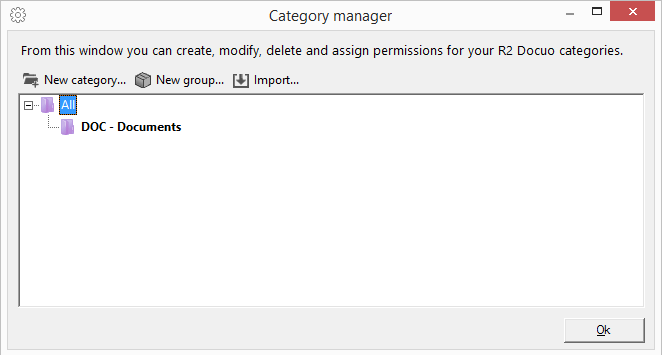
From the Categories explorer click the cog in the bottom left hand corner of the categories tree to open the Category manager.

In the Category manager window you can configure categories and category groups. You can also delete categories or groups, duplicate existing categories or import categories from other repositories.
Creating document categories
Categories are created using the Categories wizard, which consists of 9 steps to allow you to create a category with all the functionalities of R2 Docuo.
You do not have to complete all the steps of the wizard, you can create categories without fields, without attributes, without a process, etc. Clicking Finish at any stage of the Wizard will save the changes and close the Categories wizard.
From the Category manager click the "New category" button and the Categories wizard will open:
Start
In the Start step, you can define the category name, code and if necessary a default location.
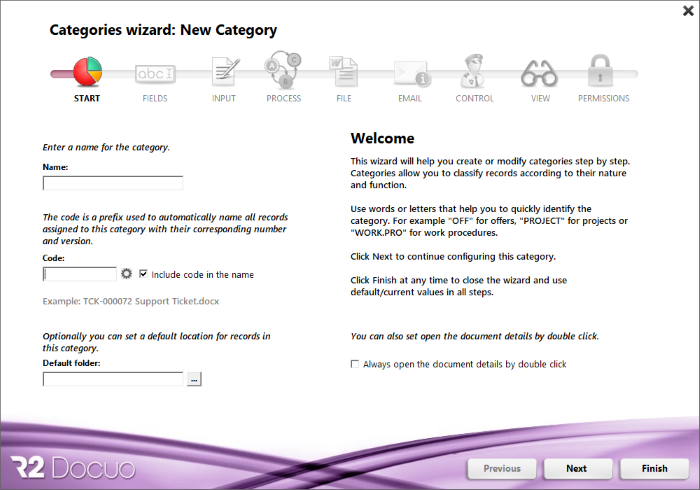
Name
The name serves to identify the document category.
Code
The code is a prefix that appears before the name of the document. It is used to automatically assign to all documents belonging to the category a sequential number consisting of the assigned code plus a 6-digit number sequence.
The cog next to the category code opens options for managing the code:
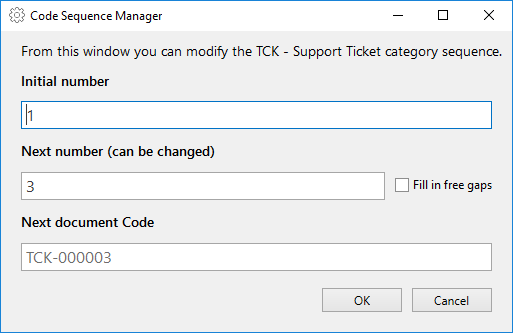
From the sequence manager window you can make changes to the codes that are given to the category records
Initial number: This is the number that will be given to the first document created in the category, the default value is 1, however, you can select the value you want.
Next number: It will be the number that will be given to the next document created in the category. Allows the code sequence to continue in any number.
If "fill in free spaces" is selected, for each document that is deleted or moved from this category, a space will be created in the sequence, this option will automatically fill in these spaces before creating a new sequence.
Code of the next document: It shows a preview of the following code that will be used when creating a document in the category.
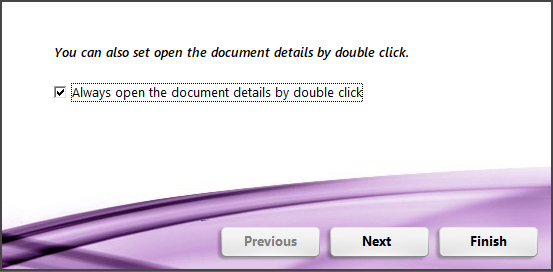
Open document details with double click
Marking this check sets the category so that when you double-click the documents in the category, the Document Details window is opened instead of opening the main file.
Default location
The default folder establishes a fixed path for all documents belonging to the category.
Clicking "Finish" will save the changes and close the Categories wizard. The category you have created will appear in the category tree.
Later on in this document you will find detailed information about the steps involved in configuring a category.
Creating category groups
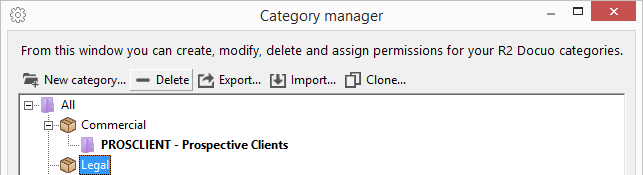
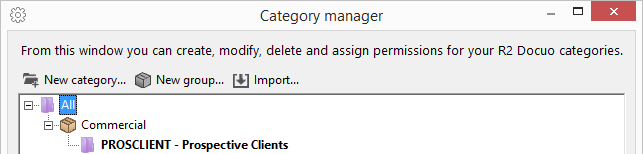
Category groups allow you to group categories together by area. You can create them from the Category manager window by clicking the "New group" button that appears on the button bar when you select "All".
Clicking "New group" will open a window where you can enter the group's name.
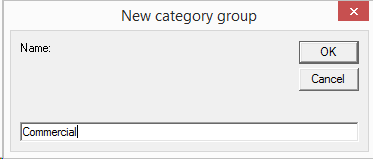
Clicking OK will create the category group with the name you have entered.
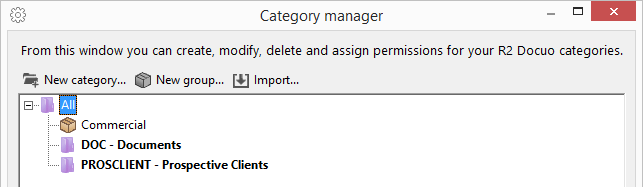
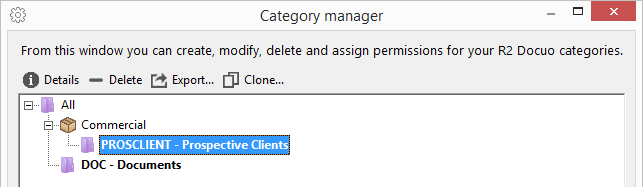
Assigning categories to groups
Each category can only belong to one group. To assign a category to a group you need to select the category and while holding the selection, drag it to the required group.
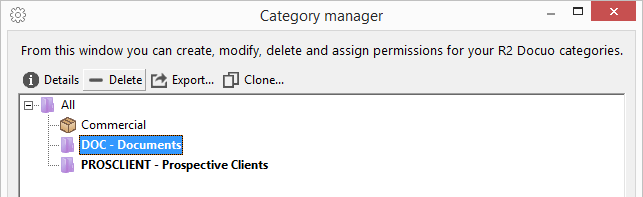
De-assigning categories from groups
To de-assign a category from a group you need to select the category and while holding the selection, drag it to the "All" folder.
Deleting categories
To delete a category it must be empty, it cannot have any document assigned to it.
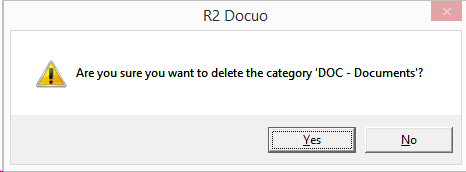
Categories are deleted through the Category manager window by clicking the "Delete" button which appears on the button bar when the category is selected.
A message will appear to confirm that you want to delete the category, and clicking OK will delete it definitively.
Deleting category groups
To eliminate groups of categories, the group to be deleted must not have any categories assigned to it.
Category groups are deleted from the Category manager window by clicking the "Delete" button that appears on the button bar when the group is selected.
A message will appear to confirm that you want to delete the group.
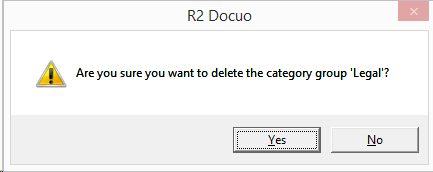
Clicking OK will delete the selected category group.
Importing and exporting categories
R2 Docuo allows you to export and import categories, category groups and related categories.
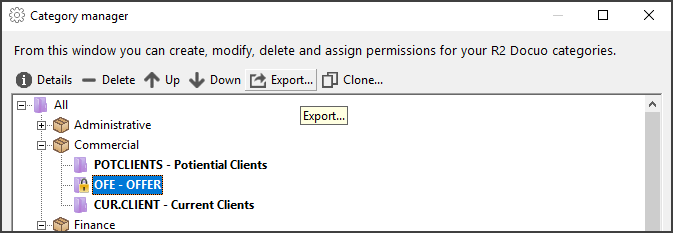
Export categories
From the category manager, select the category or group of categories to be exported and click on the "Export" button. The file browser window will open to select the location where the file will be saved.
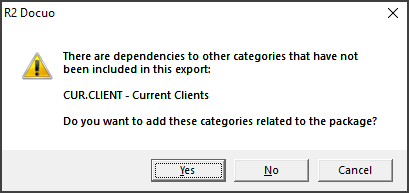
If the category to be exported is related to another category, a window appears to confirm if the related category is also exported.
At the end of the import a file with extension .r2docuo will be created,
Import categories
To import categories you have to open the category manager, select where you want to import, within a group of categories or in the general tree, and click on the "Import" button
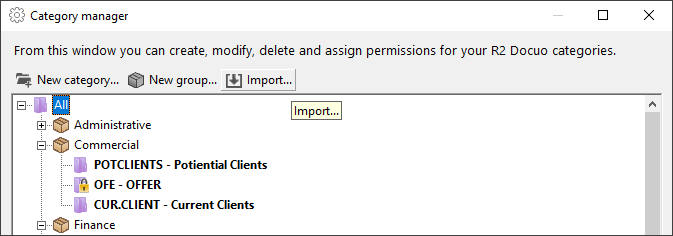
The file browser window will open to select the location of the file. When you accept, the import will begin.
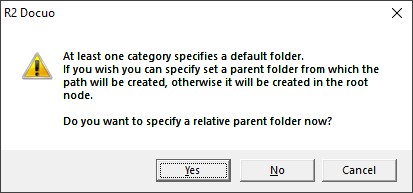
If the category has a default folder, a warning appears to select the corresponding option.